A wheel either bolts on straight or it does not, and there is no middle setting. Bolt pattern, pilot fit and nut seat decide which one you get. All three are cheap to check before an order and expensive to discover in a parking lot.
The Pattern Is Two Numbers
A 4/156 pattern means four studs arranged on a circle 156 millimetres across. That circle, the bolt circle diameter, has to match exactly. Close is not a category here. A 4/137 wheel does not go onto a 4/156 hub, and pulling lug nuts down onto studs that do not line up ruins the studs and the wheel together.
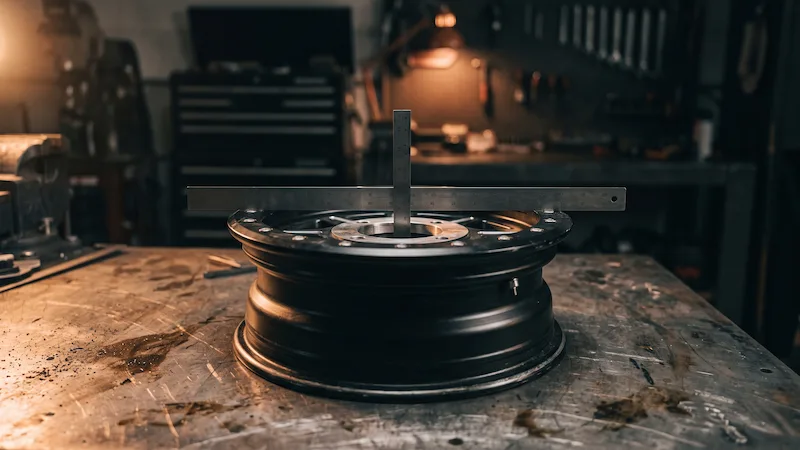
Four stud patterns are easy to measure because opposite studs sit directly across the circle from one another. Measure centre to centre between two studs that face each other and you have the bolt circle diameter. Five stud patterns need a chart or a proper gauge, which is one small mercy of powersports fitments being mostly fours.
Patterns You Will Meet
| Pattern | Machines | Notes |
|---|---|---|
| 4/156 | Most Polaris: RZR, Ranger, Sportsman | The most widely stocked UTV pattern |
| 4/137 | Can-Am Maverick, Defender, Outlander | Close enough to 156 to fool a glance, never close enough to fit |
| 4/110 | Honda, Yamaha and Kawasaki quads | The default on Japanese ATVs for decades |
| 4/115 | Older Arctic Cat and some imports | Worth measuring rather than assuming from the badge |
Brand is a hint, not an answer. Model years change patterns, and a machine that has been apart before may be wearing hubs from something else entirely.
Pilot Fit Is the Part People Skip
The centre hole has to clear the hub's raised pilot and let the wheel seat flat against the mounting face. A hole slightly too small hangs the wheel up before the face makes contact, and the nuts will happily pull it down crooked while feeling completely normal on the wrench.
A hole much larger than the pilot has the opposite problem. The wheel relies entirely on the taper of the nuts to find centre, which mostly works and occasionally leaves you with a vibration nobody can trace. Spin the wheel by hand before torquing anything. It should sit flat and turn without a wobble.
Nut Seats and Studs
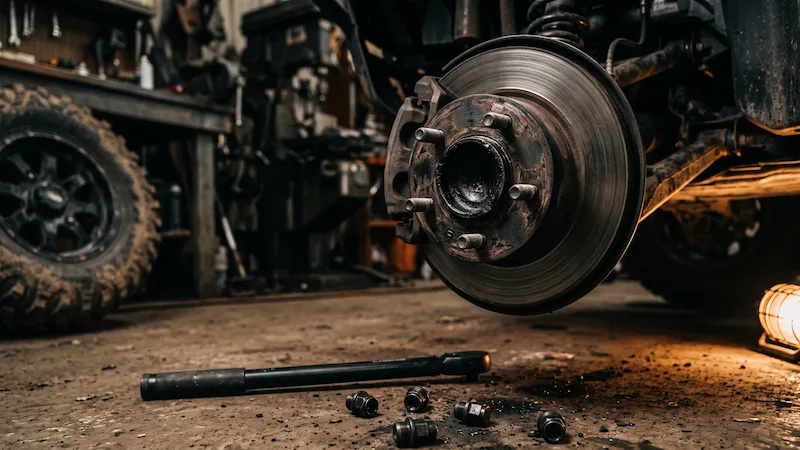
Match the seat to the wheel. Conical seats want conical nuts and flanged seats want flanged nuts. The two are not interchangeable even though both will thread on, and the wrong seat concentrates load on a small ring of aluminium until it works loose.
Check the stud thread before buying nuts. Thread pitch varies between machines and between model years. A nut that threads on a few turns and then binds is telling you something, and it is not asking for more torque.
Torque to the manual, in a star pattern. Alternate across the wheel instead of working around it, in two passes, so the wheel pulls down evenly against the hub face.
Re-torque aluminium wheels. After the first ride, then again after the first hot cycle. Aluminium relaxes against a steel hub in a way steel wheels do not, and this is the most common reason a correctly assembled wheel comes loose anyway.
Nine times out of ten a wheel that came loose was torqued once, in a circle, and never checked again. The tenth had the wrong nuts on it.
Adam Miller, Senior Product Specialist
Adapters Versus Buying the Right Wheel
Bolt pattern adapters exist and they work, within limits. An adapter bolts to your hub in the original pattern and presents a different pattern outboard of it, which makes it a permanent spacer carrying every offset consequence that comes with one. Track width grows, bearings see more leverage, and the assembly now has two torqued joints to maintain instead of one.
They earn their place when you already own good wheels in the wrong pattern, or when the alternative is swapping hubs. They are a poor way to save money on a fresh wheel purchase, because the correct pattern costs the same as the incorrect one.
Before the First Ride
Seat every nut by hand first. Thread each one until it touches, so a cross-threaded stud shows up now rather than under a rattle gun.
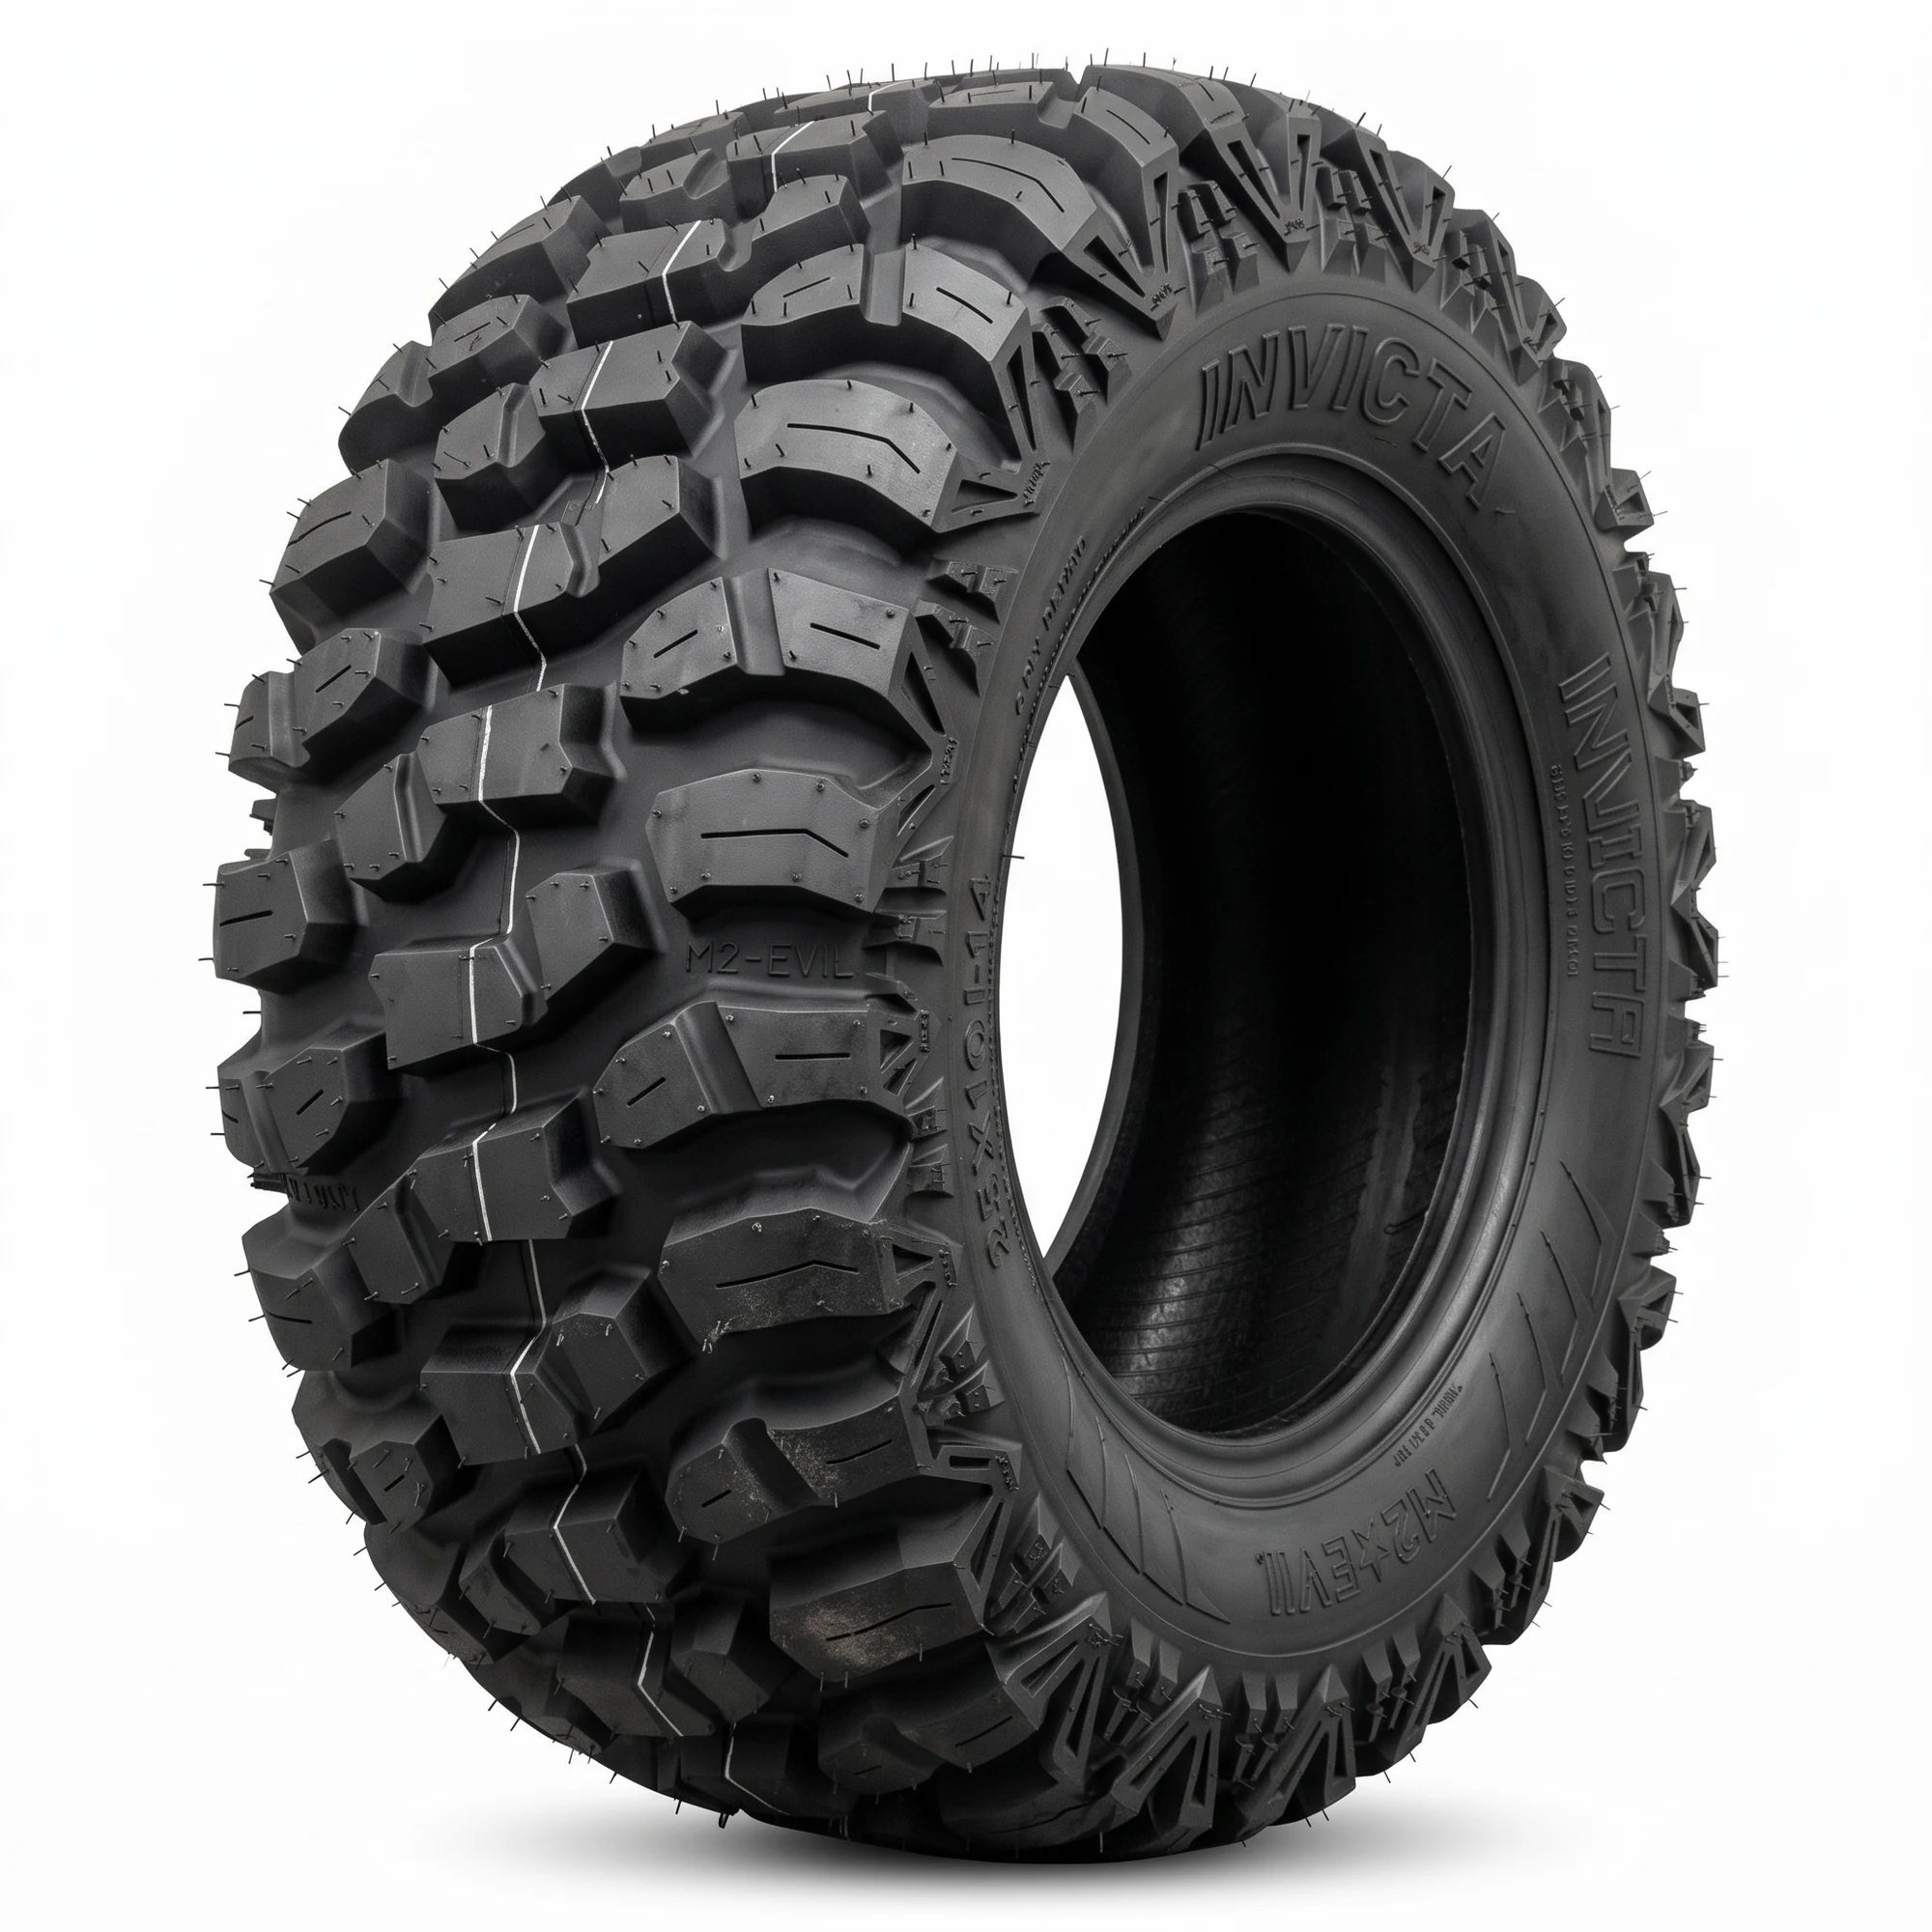
Check rotation direction. Directional treads carry an arrow moulded into the sidewall, and on machines running different front and rear sizes each axle needs confirming on its own. A mud tire mounted backwards gives up most of its ability to clear itself.
Check valve stem clearance. New wheels can put the stem exactly where a brake caliper or a hub flange wants to be, and you find out the first time you try to air up.
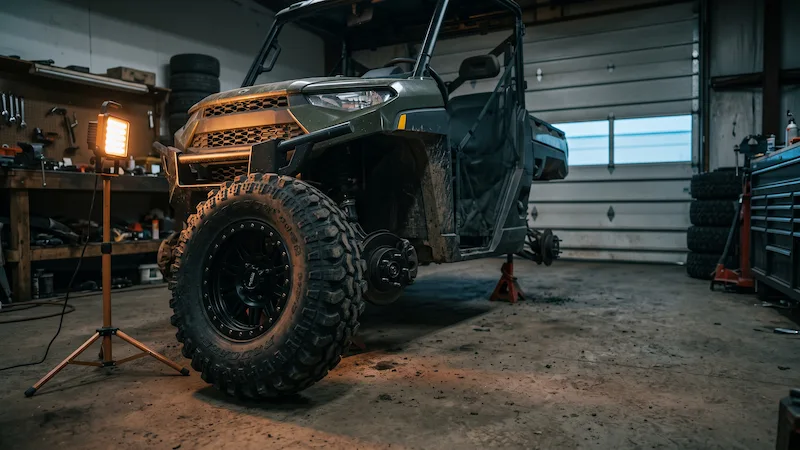
Turn lock to lock and cycle the suspension. A wheel that clears on the stand is not automatically a wheel that clears at full compression with the steering hard over.
Then ride twenty minutes and put the torque wrench back on it. That last step takes two minutes and it is the one that keeps the rest of the work honest.